69 Charger - Lighting them up!
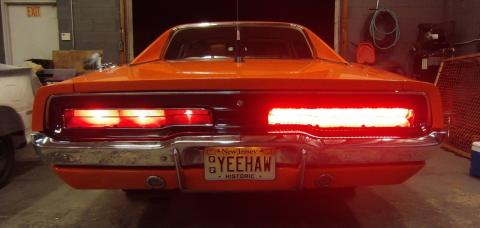
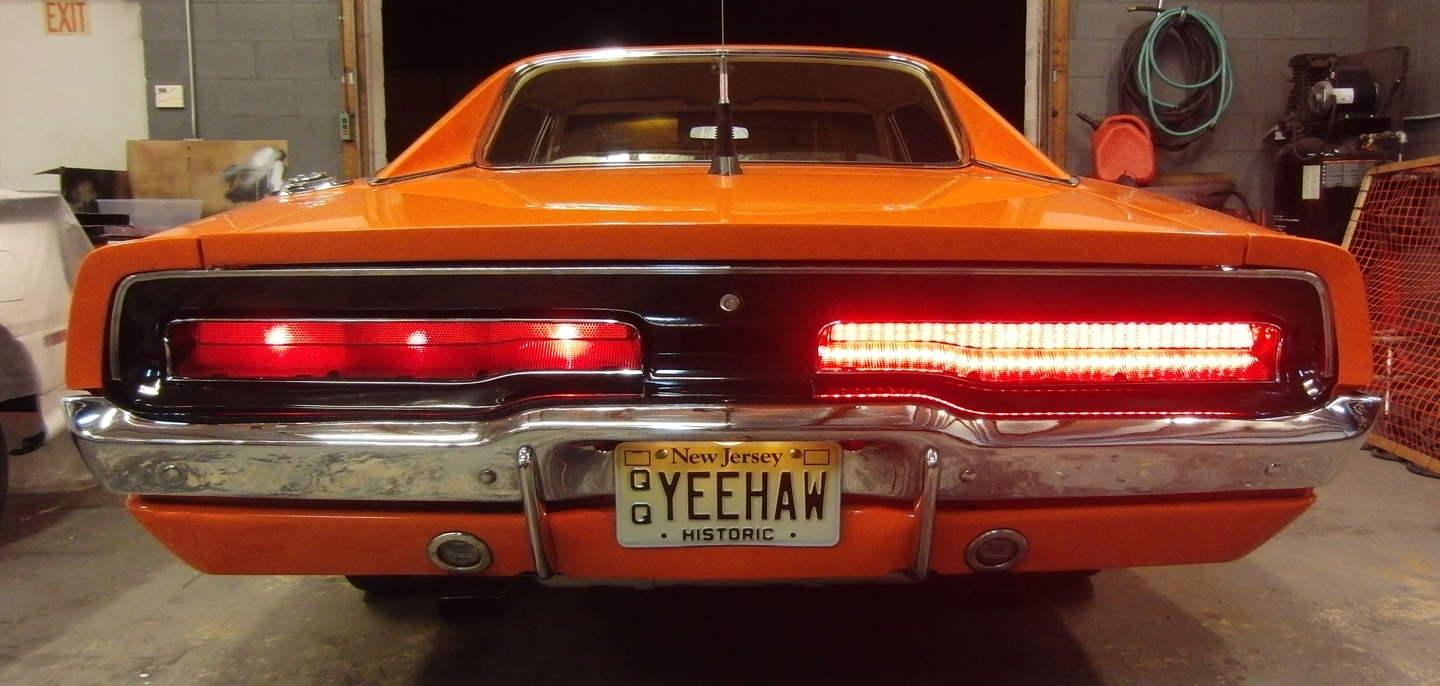
All DIGI-TAILS LED Tail Light Panel Kits are carefully designed to minimize the install time and make any needed modifications minor. In a few small steps we make this Dodge Charger safer and brighter! At the end of the installation we compare the light intensity of stock 1157's with these LED panels.
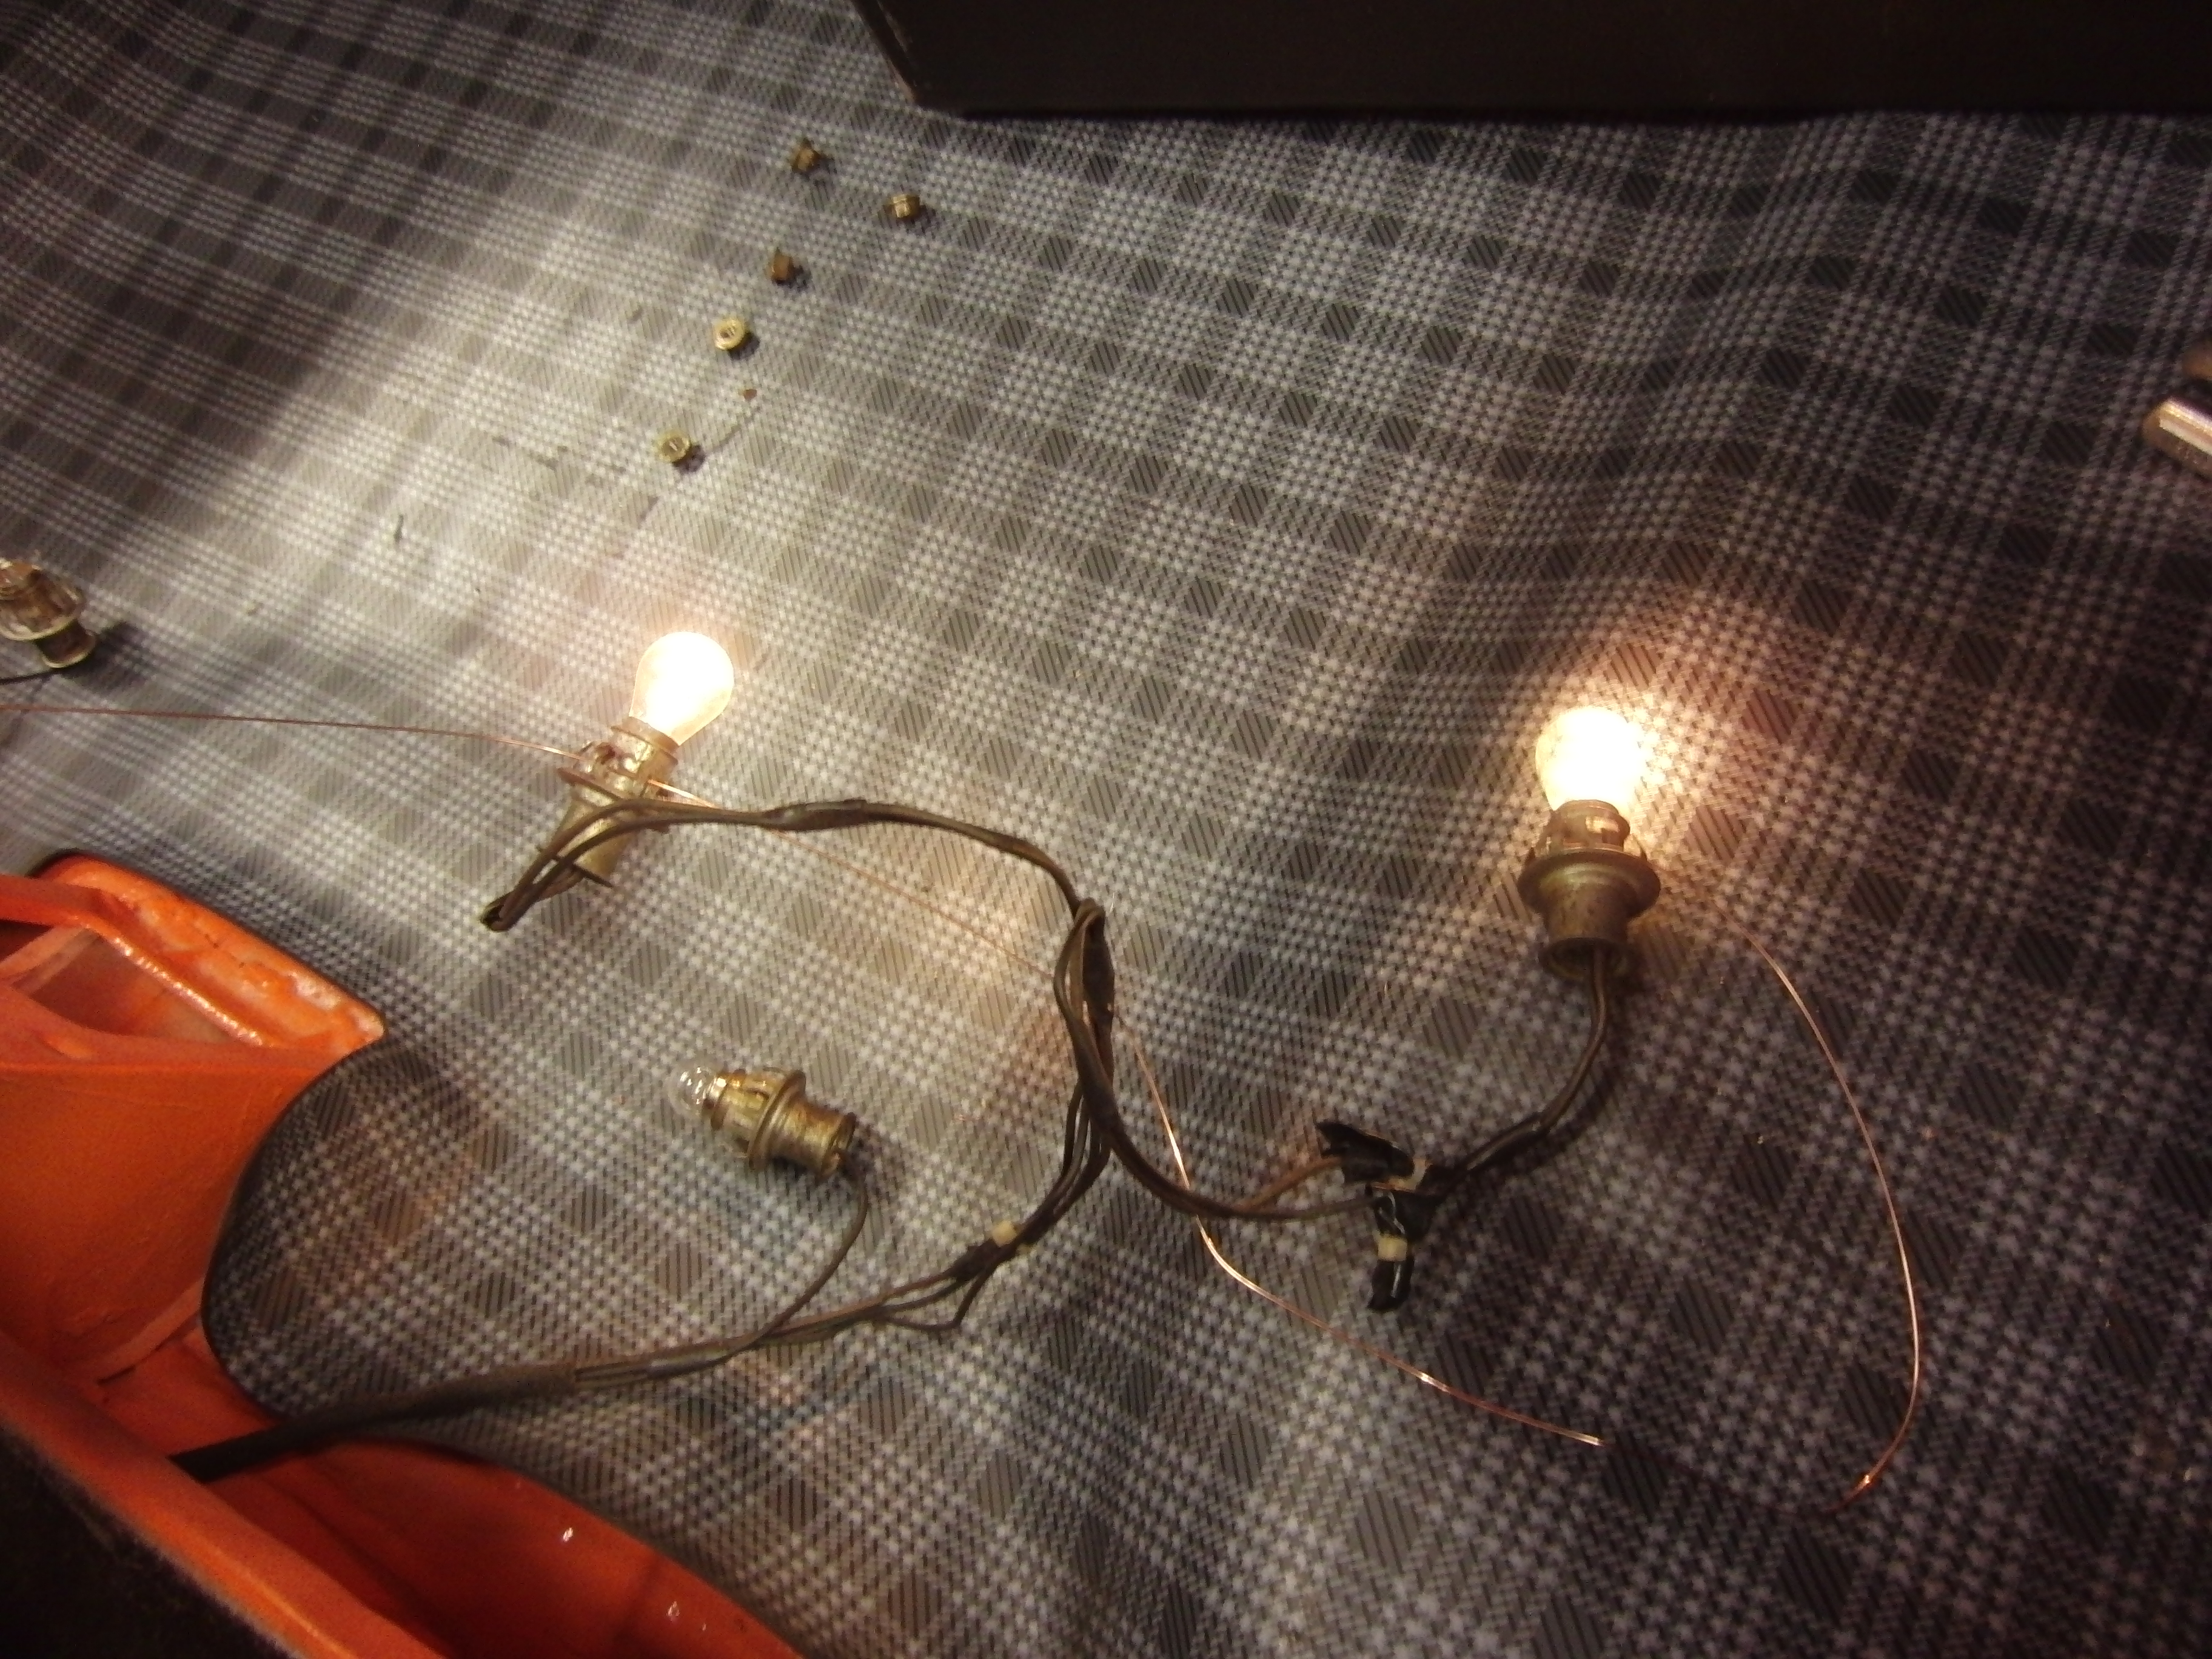
1. Remove the stock lights' bulbs.
Here are the the original bulbs lit up like pretty little Christmas tree bulbs. LED's are going to be a welcomed addition to this car.
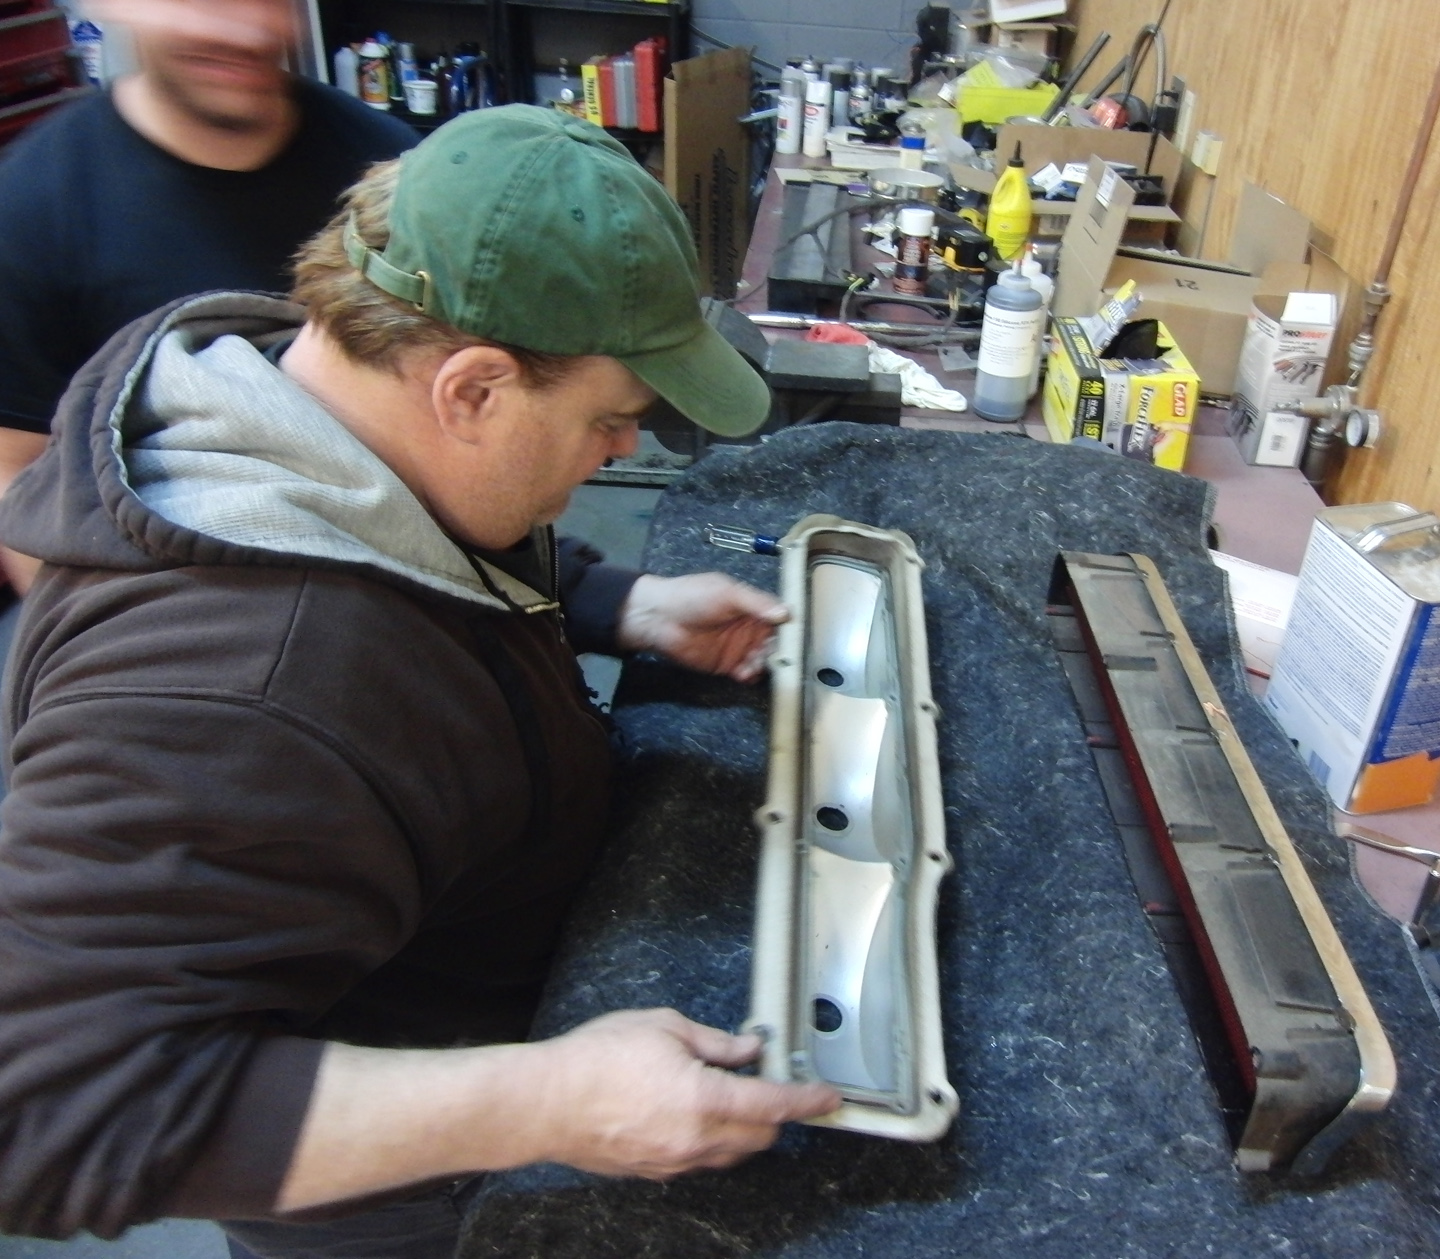
2. Remove the tail light housings.
As Marc shows,this is also a perfect time to clean the inside of the housing and lens.
3. Install the mounts and LED Panels.
I attached the angle brackets to the housing with no permanent modifications needed, just peel, align, and stick. I then aligned the LED panel and stuck it onto the brackets
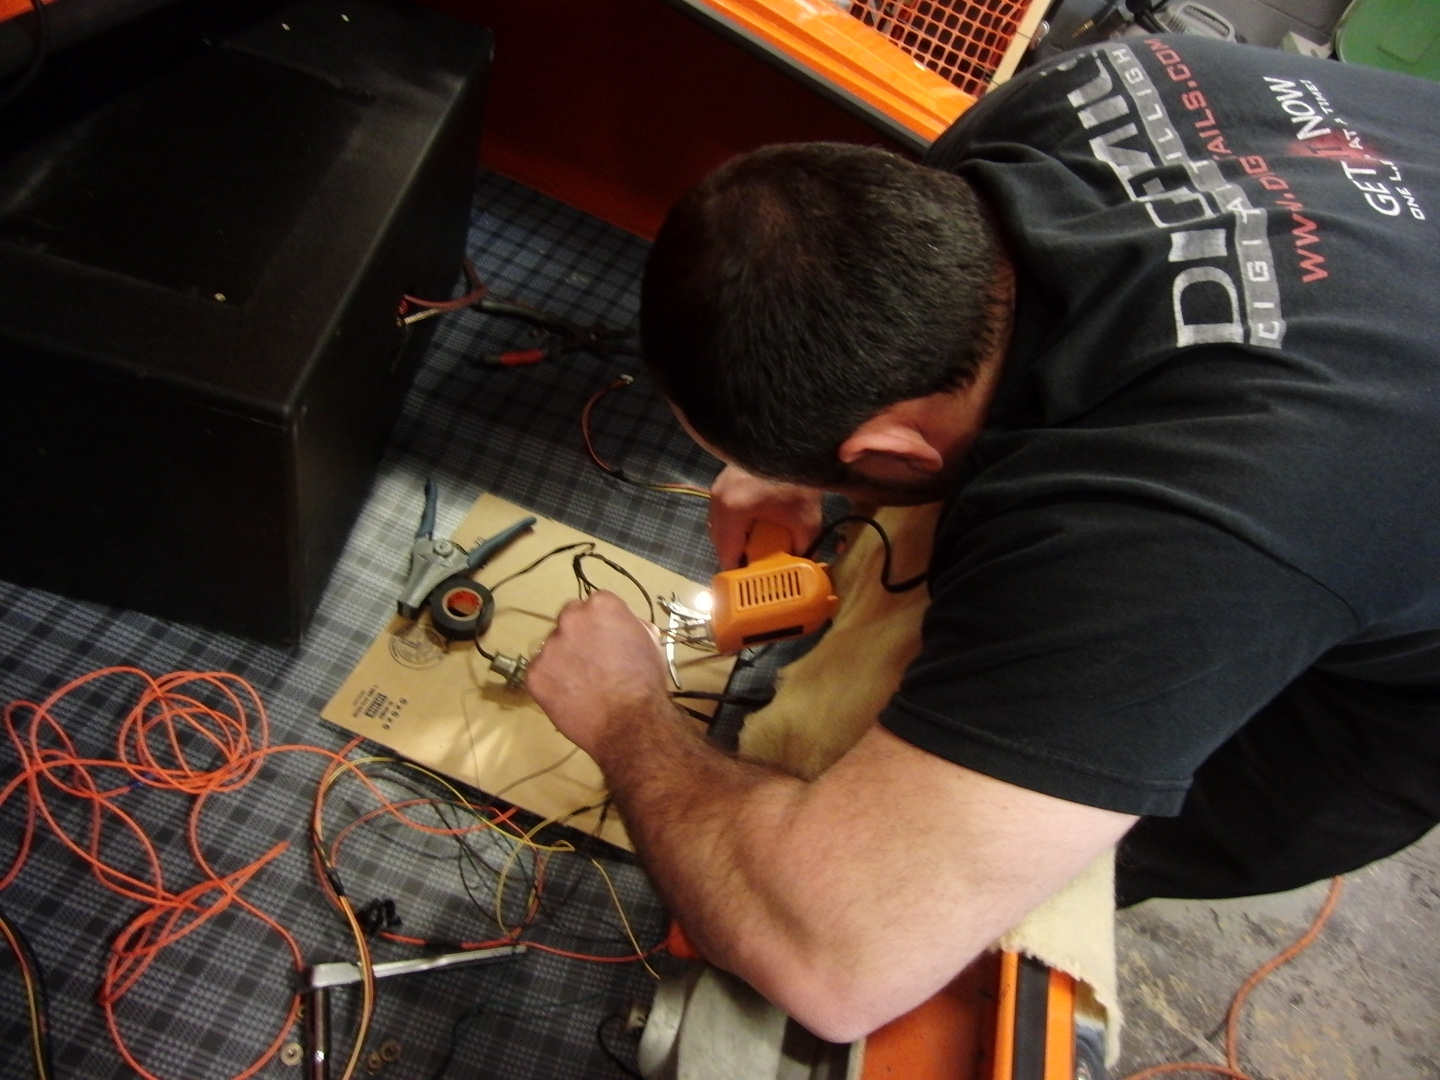
4. Splice in the pig tail harnesses.
The kit includes two pig tails. I soldered each pig tail into the original tail light harness and mounted the ground wires to the body.
Each panel needs five signals:
- Constant 12 volt for power.
- Ground wire.
- Running light signal.
- Driver side signal
- Passenger side signal.
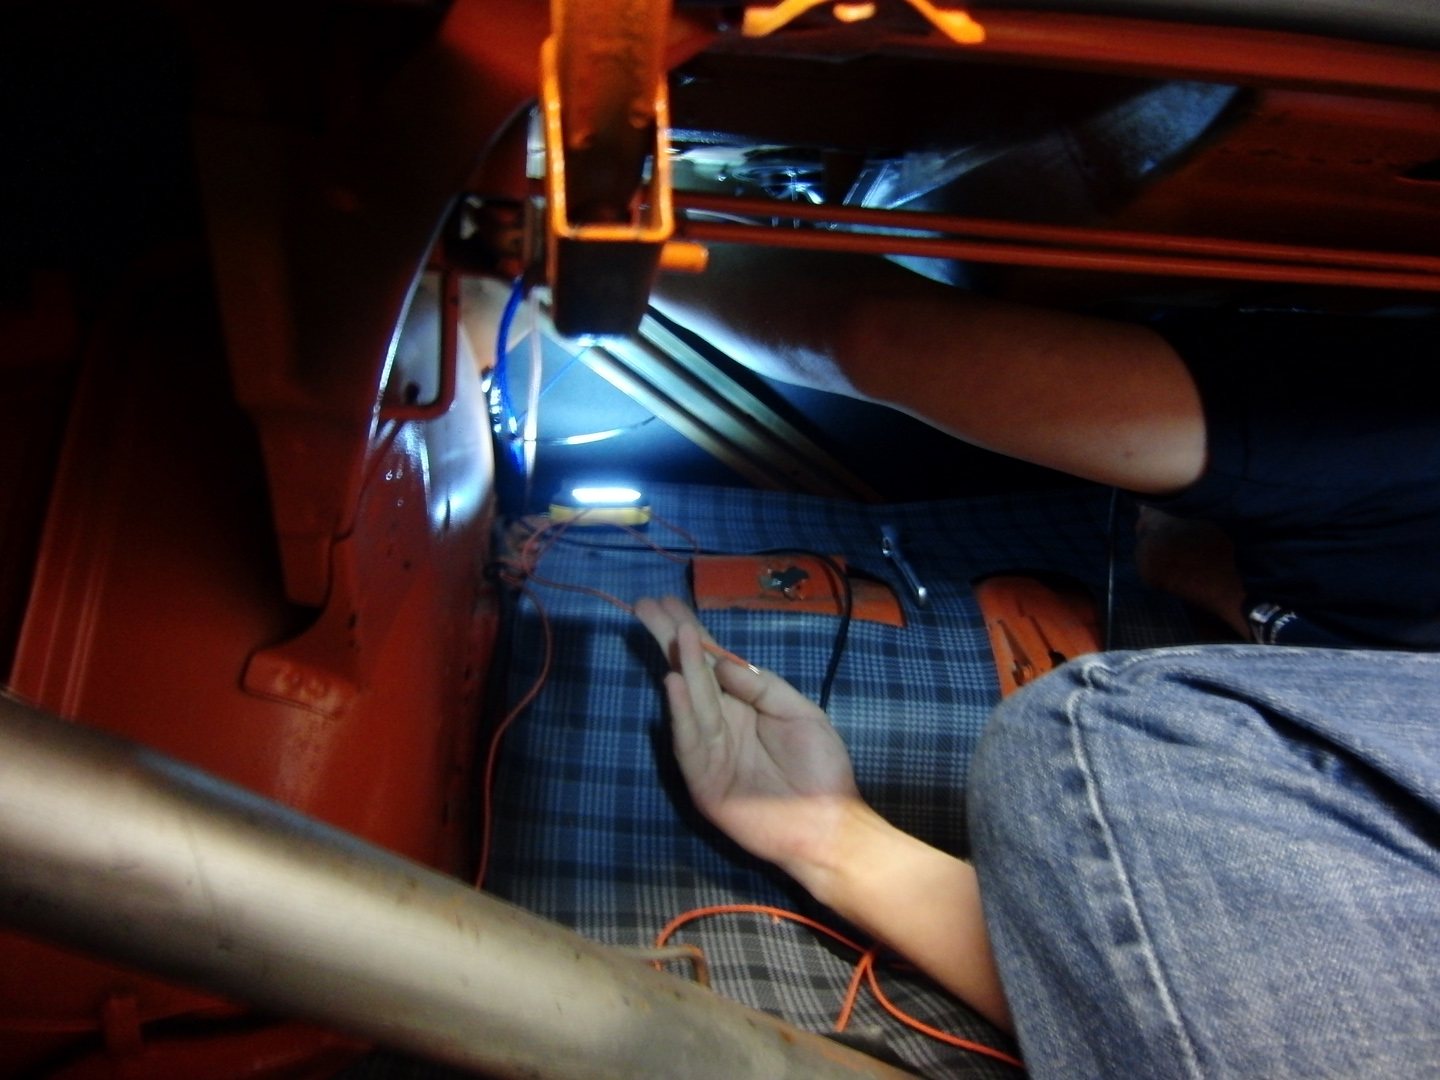
The only extra wire we need to run is the orange power wire that needs a constant 12 volt source. The reason for a constant 12 volts is to allow the brake lights to not only have a ON sequence, but also a full OFF sequence when the brake pedal is released. I had Mike squeeze in the trunk and tap the orange wire to a constant power source that is used for the stereo. Many times we tap into the trunk light or dome light.
5. Reassemble.
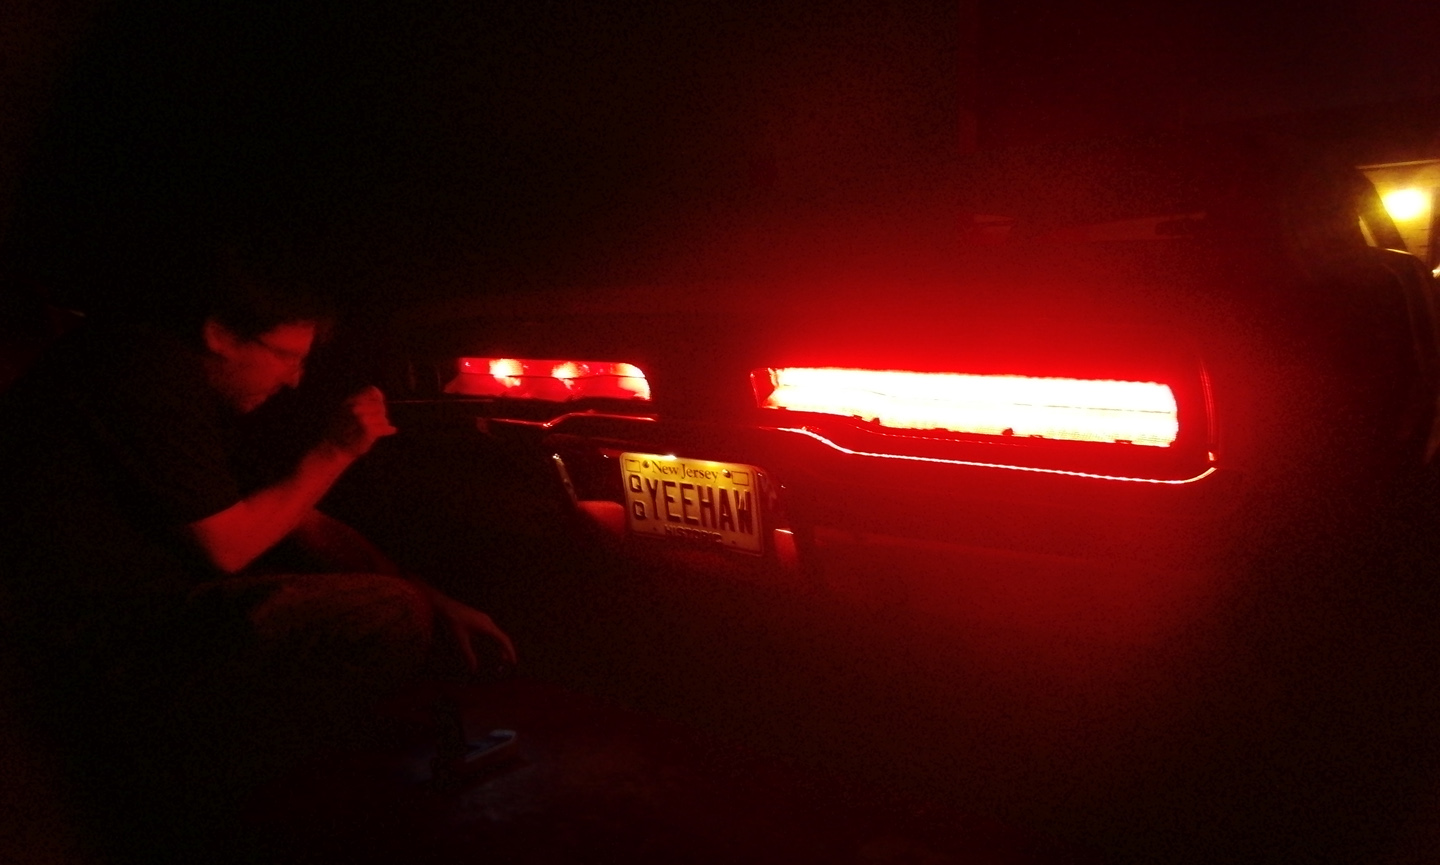
Before Marc reassembled the housings, he plugged in the LED panels and tested all of the functions. He then used the included grommets to close up the stock light socket hole.
All complete and wrapped up, each housing has one simple harness running into it. The tail light panel cover goes back on and the interior is untouched.
6. Electronic flasher.
For the final step, Mike once again got on his back and replaced the stock flasher with an electronic no load flasher. This will ensure that the turn signal lights are always properly timed.
We turned out the lights and Mike threw on his lab coat, pulled out his test equipment, and compared light output.
- Brake intensity: The LED's are 13 times as bright. (Stock two 1157's compared to DIGI-TAILS panels with 133 LED's)
- Run intensity: The LED's are 5 times as bright. (Stock three 1157's compared to DIGI-TAILS panels with 133 LED's)






Tom (not verified) (Wed, 10/17/2012 - 21:57)
Absolutely LOVE these tail lights in my ride. Everyone that see's them in my car tells me just how cool they are and look. They are super bright and unlike anything else out there today. The guys at spaghetti engineering are also very helpful, knowledgable, and ready to answer any and all of your questions so give them a try! Trust me you will love these lights as much as I do!!!
Bill Adams (not verified) (Sat, 11/17/2012 - 12:05)
What have you that will work on front and back turn signals and side marker lights for a 69 elCamino
A BAD SS (Tue, 11/27/2012 - 18:00)
I just ordered a set of your tail lights for my 69 Chevelle. Im excited to see how they look after the install. I currently have the Shiny Hiney lights installed on the rear, but they will SOON be replaced by the DIGI-TAILS. STAY TUNED...
Mark Bird (Tue, 04/26/2016 - 19:50)
To all I love the product,
My only headache is this is now my fourth (4) time in contacting them for replacement boards / defective boards, I just wish the product had more reliability built into them, I would recommend them to all my classic cars owners, yet I first need to see some more reliability from the product, I prefer not to change to any other brand, because I truly like the way the product works, Team Spaghetti Engineering... please help to provide customer satisfaction.
Regards,
Mark Bird